


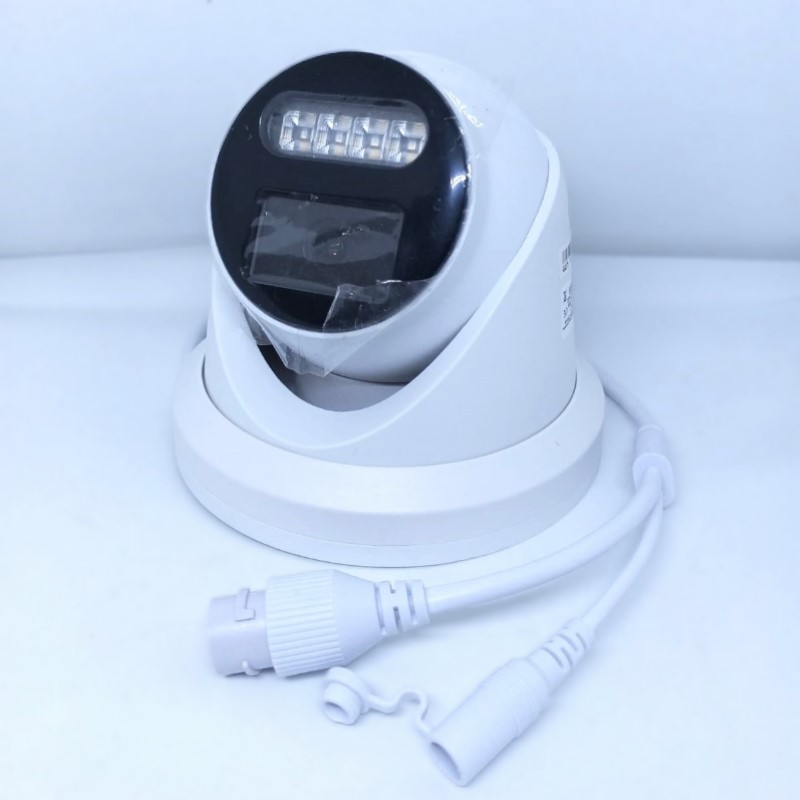
Description
1. Real-time Preview
After successful login, the interface is as follows:
Note: The device needs to be inserted with a TF card as a full function display
interface, otherwise, the device is a simple display interface.
2.1 Full Screen Preview Click the full screen icon @to preview the full screen, and press ESC to exit the full screen.
2.2 PTZ Control
·PTZ Control: Eight direction keys can control the rotation of front-end equipment, and the middle is automatic rotation
·Z0OM:Adjustable zoom size.
·FOCUSE: Adjustable focus size.
·IRIS: Adjustable iris size.
·Speed: The slider can control the speed of the PTZ.
Preset Point Setting: First, turn the camera to the desired position through the direction button controlled by the PTZ, then select a preset number in the “Preset point” drop-down list, and finally click the o setting button.
·Present Point Cal: Select a preset number to be called from the “preset pointe “drop-down list, and then click the →call button. Capture
·Capture: Preview the snapshot, and click it to automatically pop up the snap shot saving path file.
·Sound: Turn on/off sound preview.
·Talk: Turn on/off voice intercom. Main Stream
2.3 Stream Type Selection Select the current main stream preview or sub stream preview.
2.4 Display Intelligent Detection Show Smart Detection Rule Show Smart Detection Result
·Display Intelligent Detection Rules: Select whether to display intelligent detection types.
·Display Intelligent Detection Results: Select whether to display the statistical results of intelligent detection.
4.2 Time Settings Time Settings
·Manual Timing: Set IPC time manually.
·Synchronization With PC: Synchronize the current PC time.
4.3 Audio Settings ·Audio Source: Select microphone or line in.
·Input Volume: Set the volume of audio input
·Output Volume: Set the volume of audio output.
4.4 Video Tampering Parameter Configuration:
·You can set whether to enable the detection function, set the detection sensitivity, and set the detection area.
·Deployment Time: You can set the deployment time from Monday to Sunday.
·Linkage Setting: You can set the linkage to upload email, video, FTP, alarm light, alarm Output, capture, and voice broadcast.
4.5 privacy Zones Privacy Zones
·Enable: Privacy masking can be enabled or disabled.
·Setting Area: In the preview interface of Setting Area, press and hold the left mouse button and drag to select the area to be masked.
·Clear Click “CLEAR” to clear the area specified by IPC.
4.6 Human Detection
·Parameter Setting: You can set whether to enable the human shape detection function. The minimum human shape pixel size can be set to be the minimum human shape pixel size detected, The video stream can be superposed to the human frame. Detection area and shielding area can be set.
·Development Time: You can set the deployment tine from Monday to Sunday.
·Linkage Area: Linkage upload email, video, FTP, alarm light, alarm output, capture and voice broadcast can be set.
4.7 Video Plan
·Parameter Configuration: Video recording mode, pre-recording time and video recording delay can be set.
4.8 Network Settings
·Basic Setting: Static IP or DHCP mode can be set.
·HTTP/HTTPS: You can set HTTP or HTTPS access on or off and port number
·RTSP Setting:RTSP on/off,port number, and base64 or Digest authentication mode can be set.
4.9 RTMP Settings
·Basic Settings:Set whether RTMP is enabled or not and the port number.
·RTMP Push: Set whether to display the set rules and detection results in the preview interface
·No Disturb Time: Set the no push time period in weeks
·No Disturbance Setting: Set the no push client.
4.10 Alarm Output Alarm Output3AYs
·Alarm Output: Set alarm output terminal
·Output Relay Status: It can be set to normally open and normally closed.
·Output Alarm Delay: Select the delay time of the output alarm (when the alarm triggering ends, the corresponding time of the alarm output delay).
4.11 User Settings
·Modify: Login password can be changed for administrator account. Ordinary users can change the user type, set two types: Ordinary users and operators, and set different permission assignments in Permission.
·Delete: Delete the new user.
·Permission: You can assign permissions to ordinary users.
·Add New Users: users can be added as required. The permissions of the guest user(default) are shown in the following figure:
4.12 Storage Management The current recording status can be displayed, the used capacity, remaining capacity and total capacity of TF card can be formatted.
4.13 System Update
Select the correct upgrade package file and click “UPDATE “to upgrade the camera.
4.14 Device Maintenance
·Configuration: Current configuration can be exported and user configuration
can be imported.
·Restore Default: Simple restore or full restore is available.
·Automatic Maintenance: Automatic maintenance time can be set.
·Restart: Restart the camera immediately.
Warranty: 01 Year


Reviews
There are no reviews yet.